Project Type: Website
Overview: The Applications Website project was a Carleton Immersive Media Studio project, where I was tasked with designing the UI / UX for a website with the aim to create a centralized hub for building permits, from both the applicant and approvals end.
Role: Team lead, UI / UX Designer
Toolkit: Figma, Adobe Suite
All images are property of Carleton Immersive Media Studio and AECO Innovation Labs.
'Projects' Page
To start off the project, our team worked with the client to understand the users, goals, and requirements for every module of the site. For each module, I created diagrams to understand the hierarchy of each page, what should be shown, and where interactions would lead.
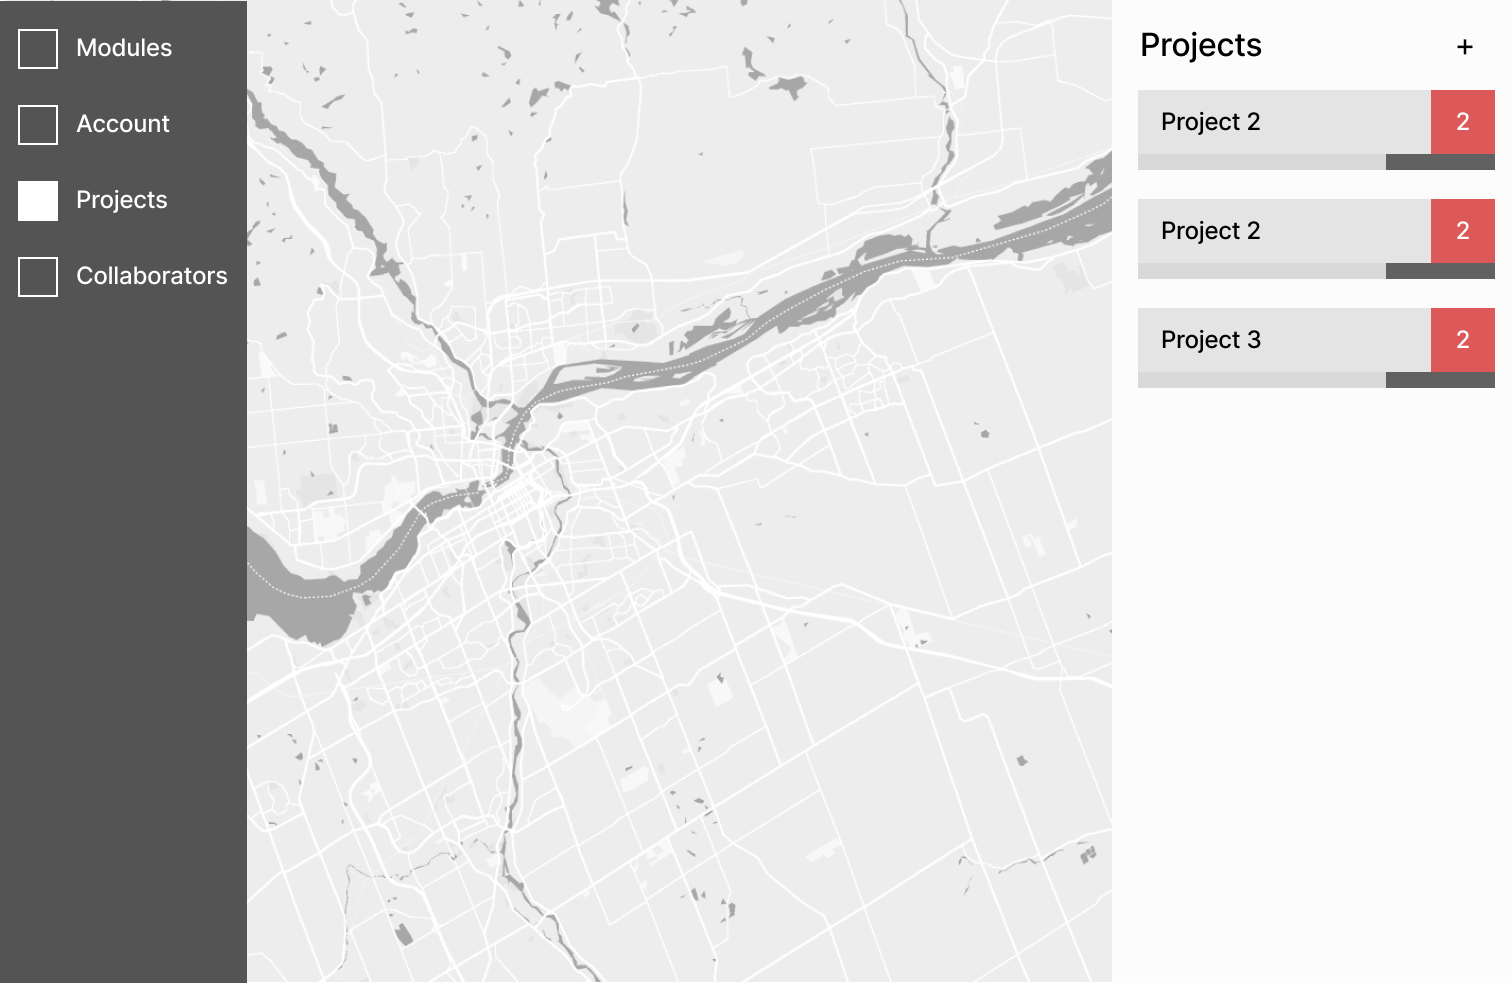
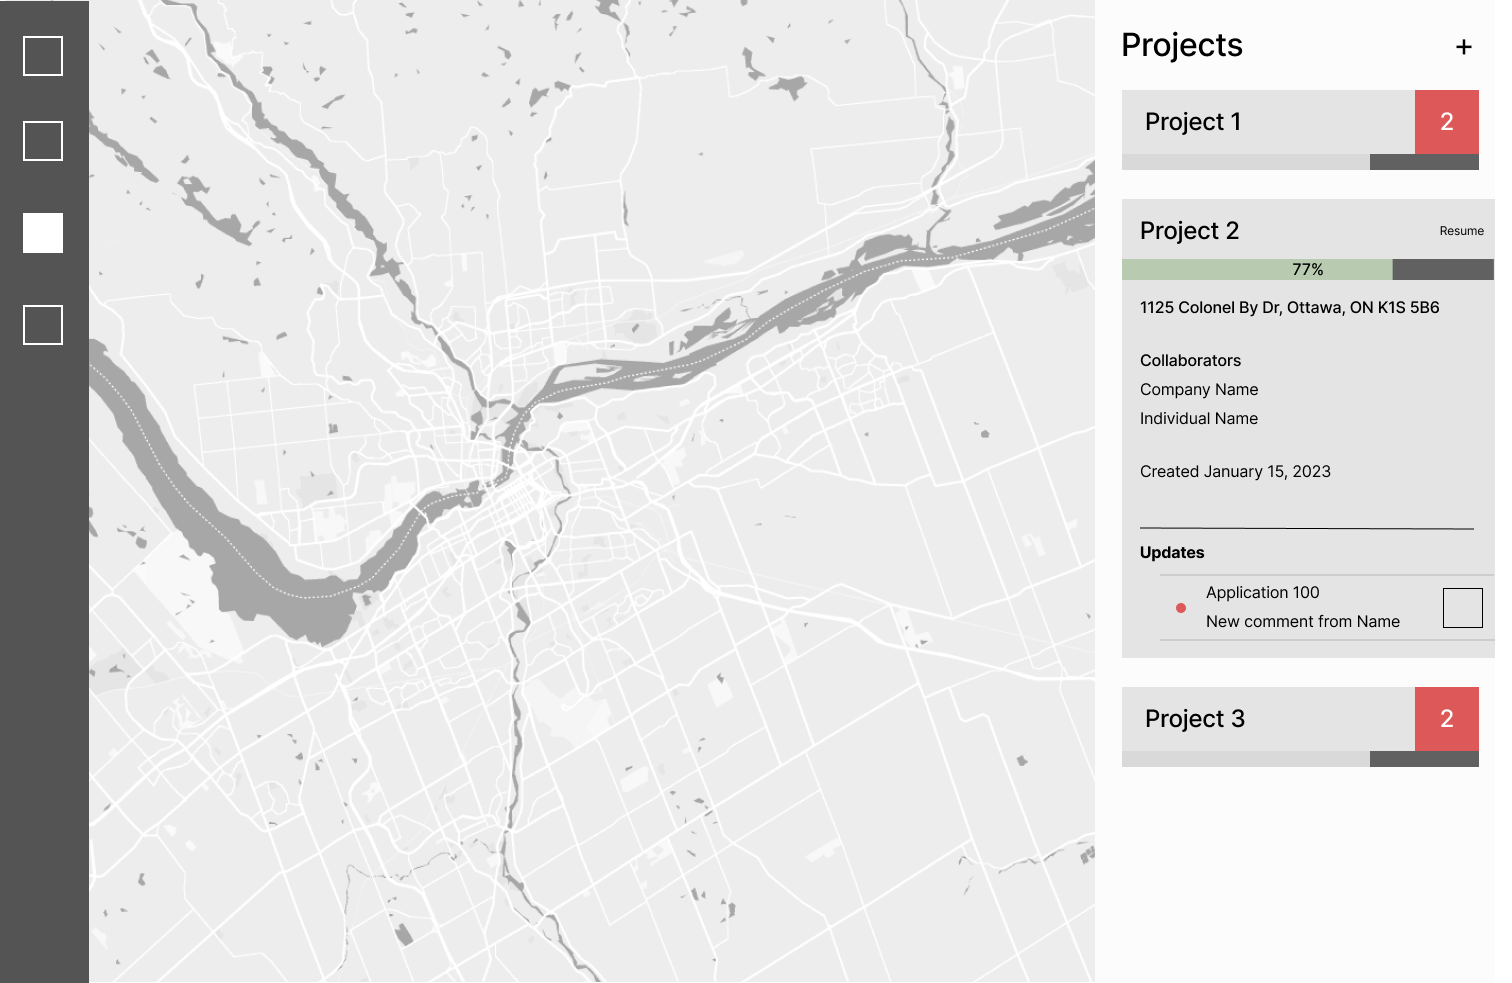
In the first phase, my priority was finding a layout that could be applied throughout the different modules of the website for cohesion. The layout that we decided on was to have the collapsable main menu on the left to move through site modules; on the right, we had the 'information panel', which would contain most of the text-based content; and in the centre was the 'viewport', as the site would largely feature maps and data visualization, we wanted these graphics to have plenty of space and be the main focus of the page.
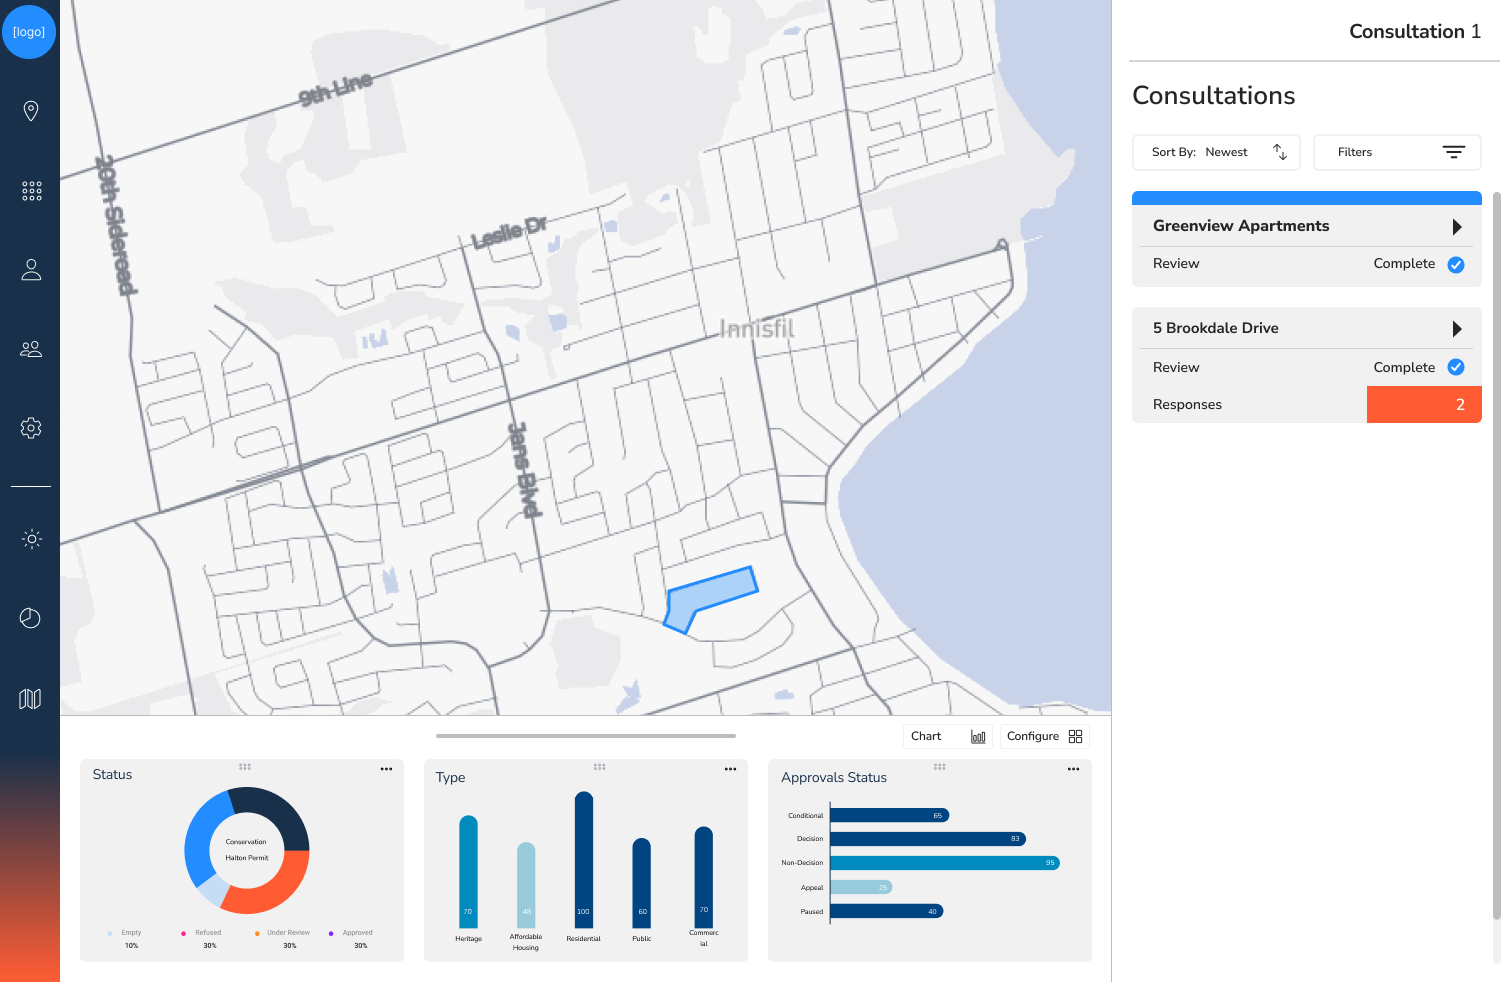
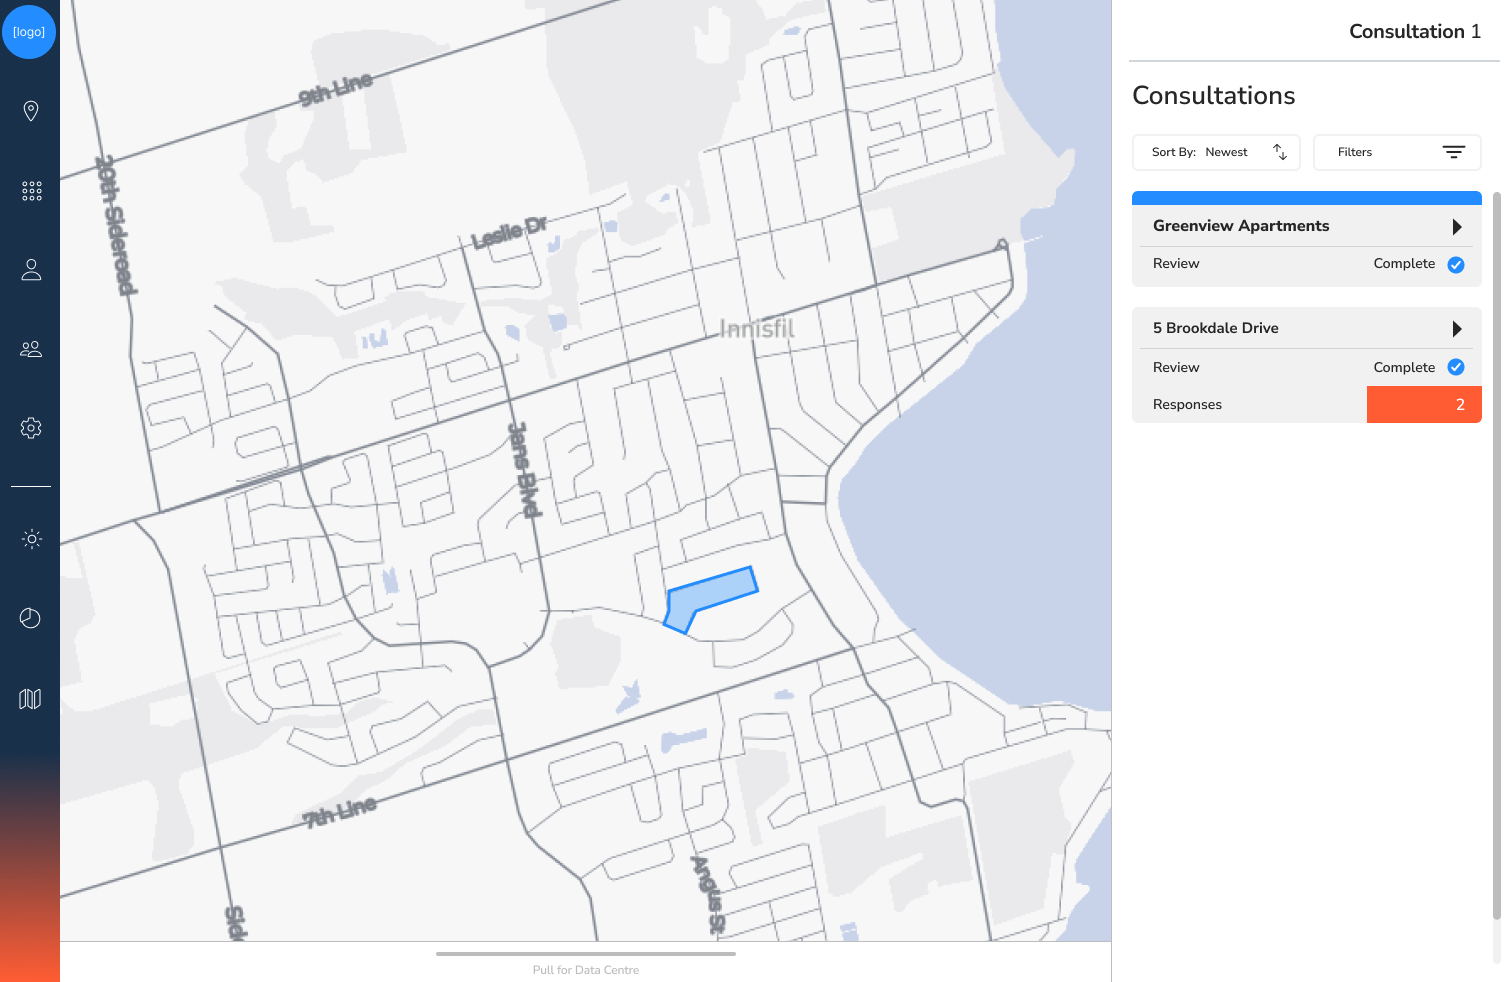
As we moved forward with this layout, I began to apply the company's branding colours and fonts. I also added an additional panel on the bottom that could show quick statistics and data. A colour on the bottom of the main menu would change with each module of the site, as each had it's own colour associated with it.
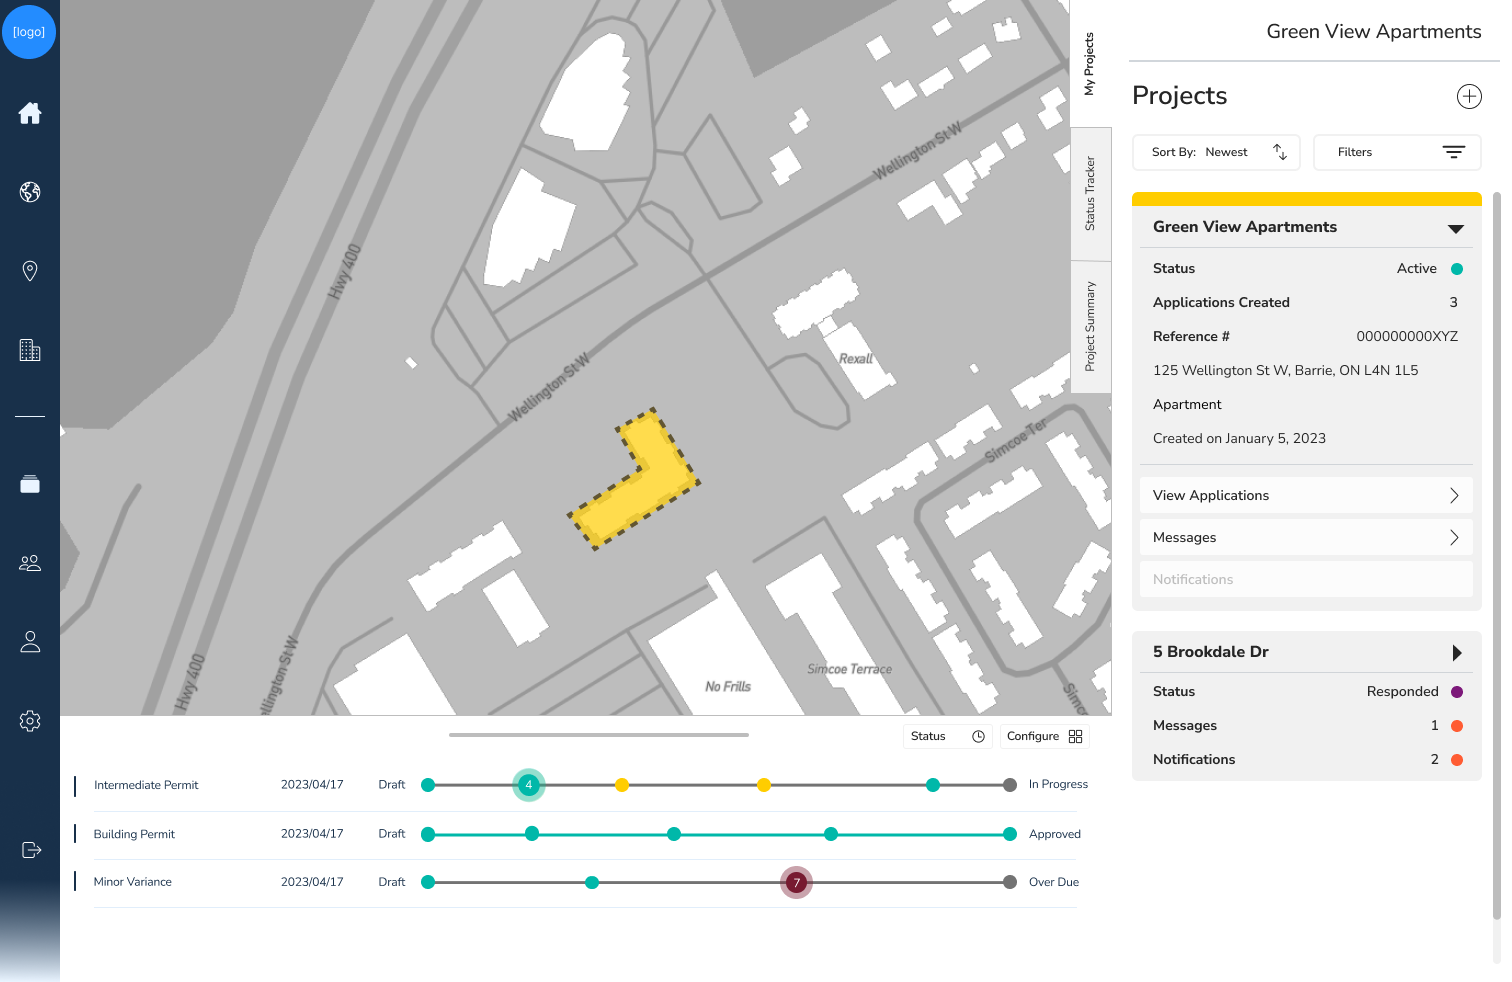
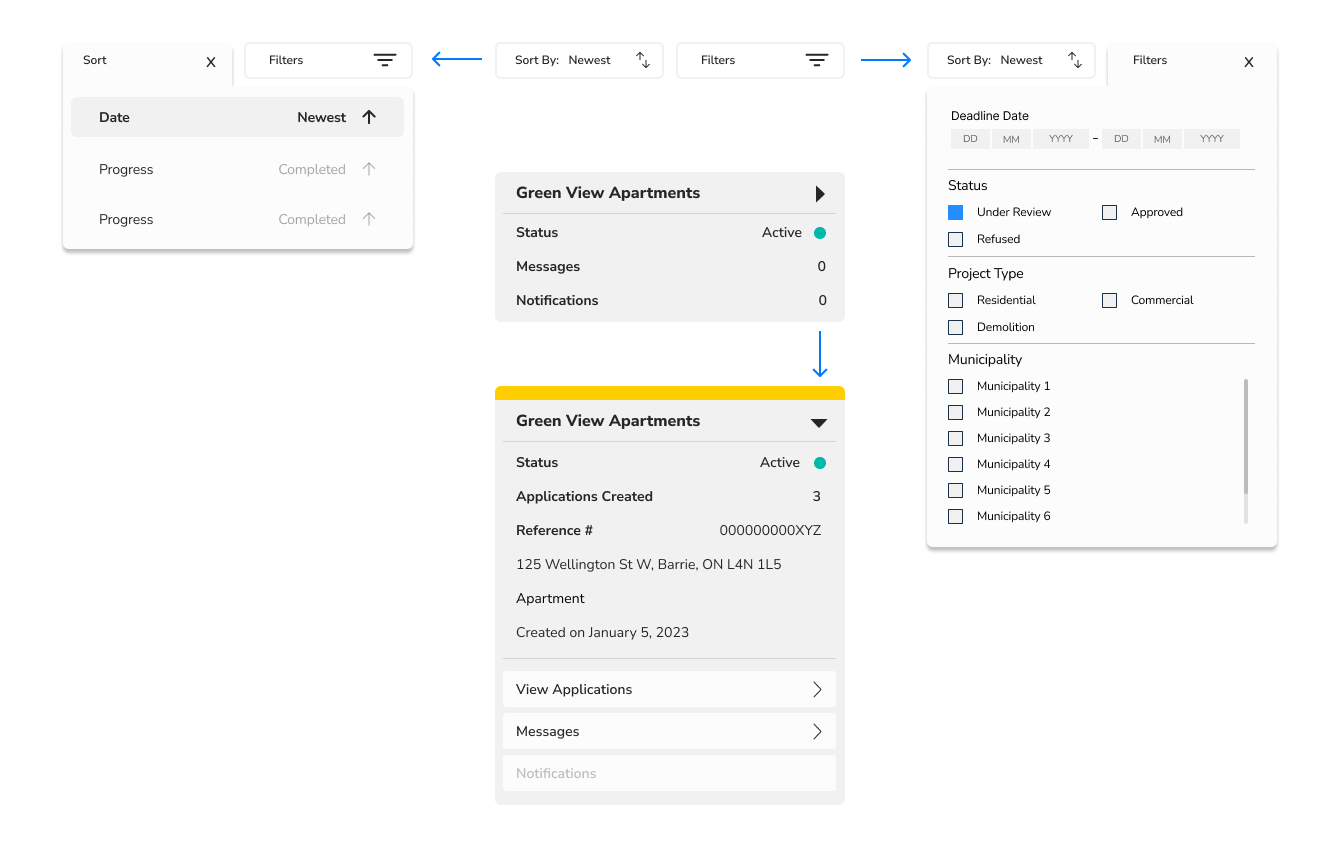
The final iteration of the 'Projects' page had a few additional modifications as the page requirements evolved. The cards that were created for each active project were updated to contain all the critical information, and would expand when the project was selected to show further info, as well as links to relevant pages. Tabs were added along the side so the user could quickly switch between information that had been previously delegated to separate pages; this change helped Projects serve more purpose as a full project overview, for quick status updates and progress reports on ongoing projects. From here, the user could see what had to be done and move forward in through the modules.
Create a Project Page
The purpose of the Create Project section was to enter the information associated with a building project or lot to keep applications organized and more easily monitor activity. Using the familiar design from the main hub of the site, we see the text information appearing on the right, and the map focused in the centre so the user can have a visual of the lot bounds and area.
Providing instructions in the menu, we guide the user to the map to set the address. Until a lot is selected, the user cannot continue with the project setup, as this is a critical piece of data for creating a project.
Next the user is able to add collaborators to the project via their existing contacts list from within the website, or externally via email.
Finally, the user inputs remaining information about the project in a form, using familiar identifiers to help them recognize requirements. Mandatory categories are marked with an asterisk, highlighting red if the user tries to move forward while the input is blank. Some information can be pre-filled for the user based on previous information, these categories appear shaded in grey.
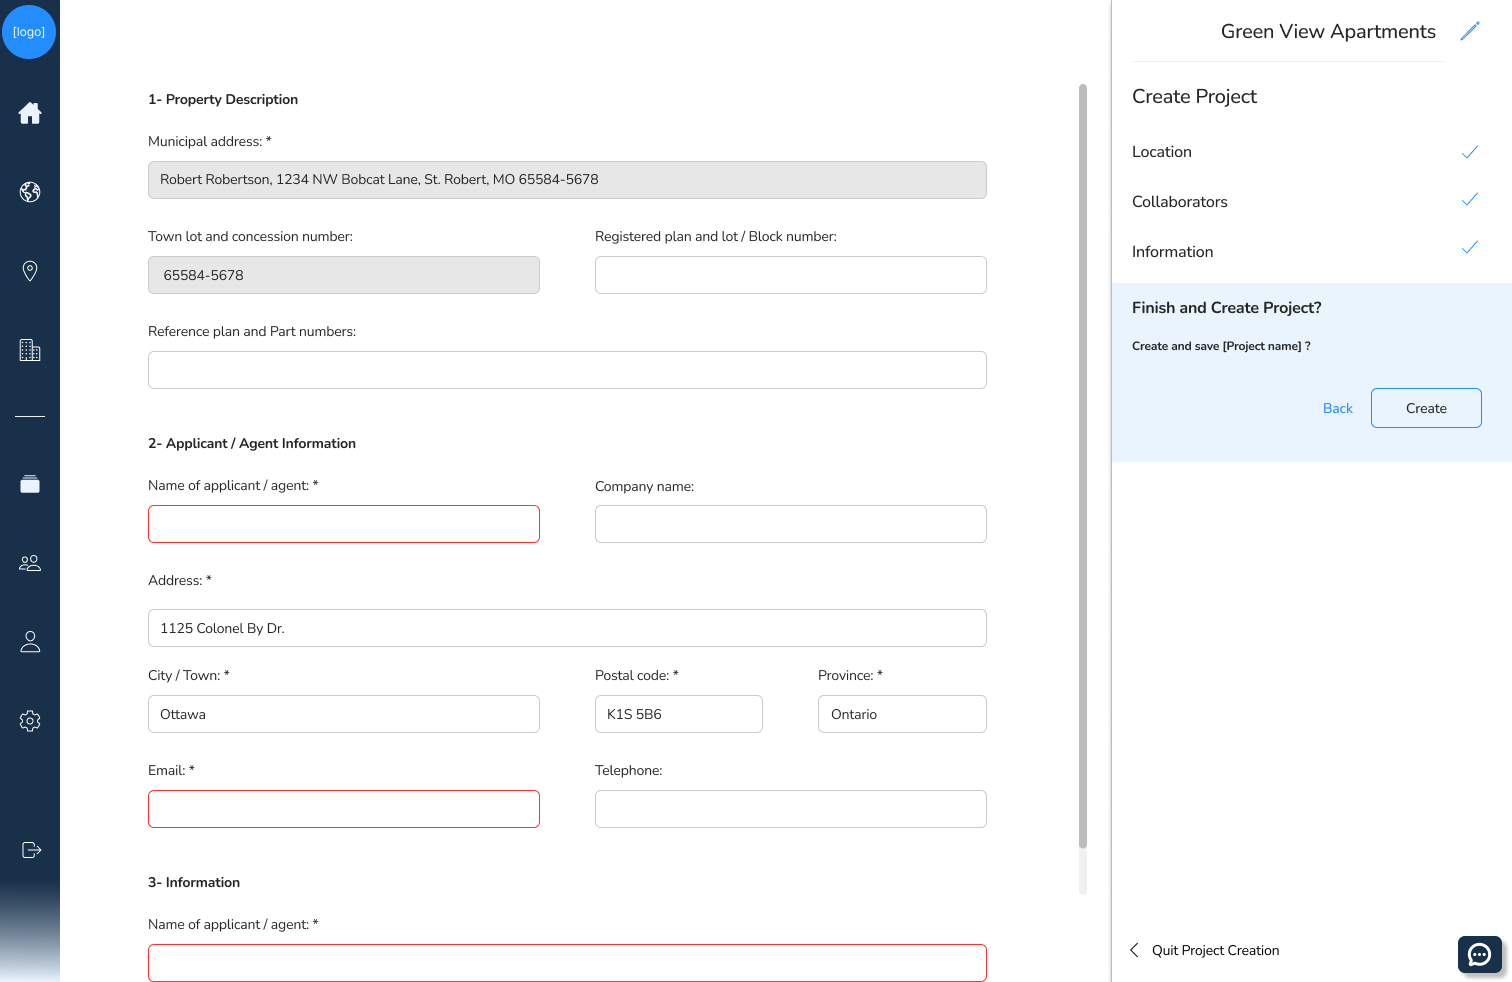
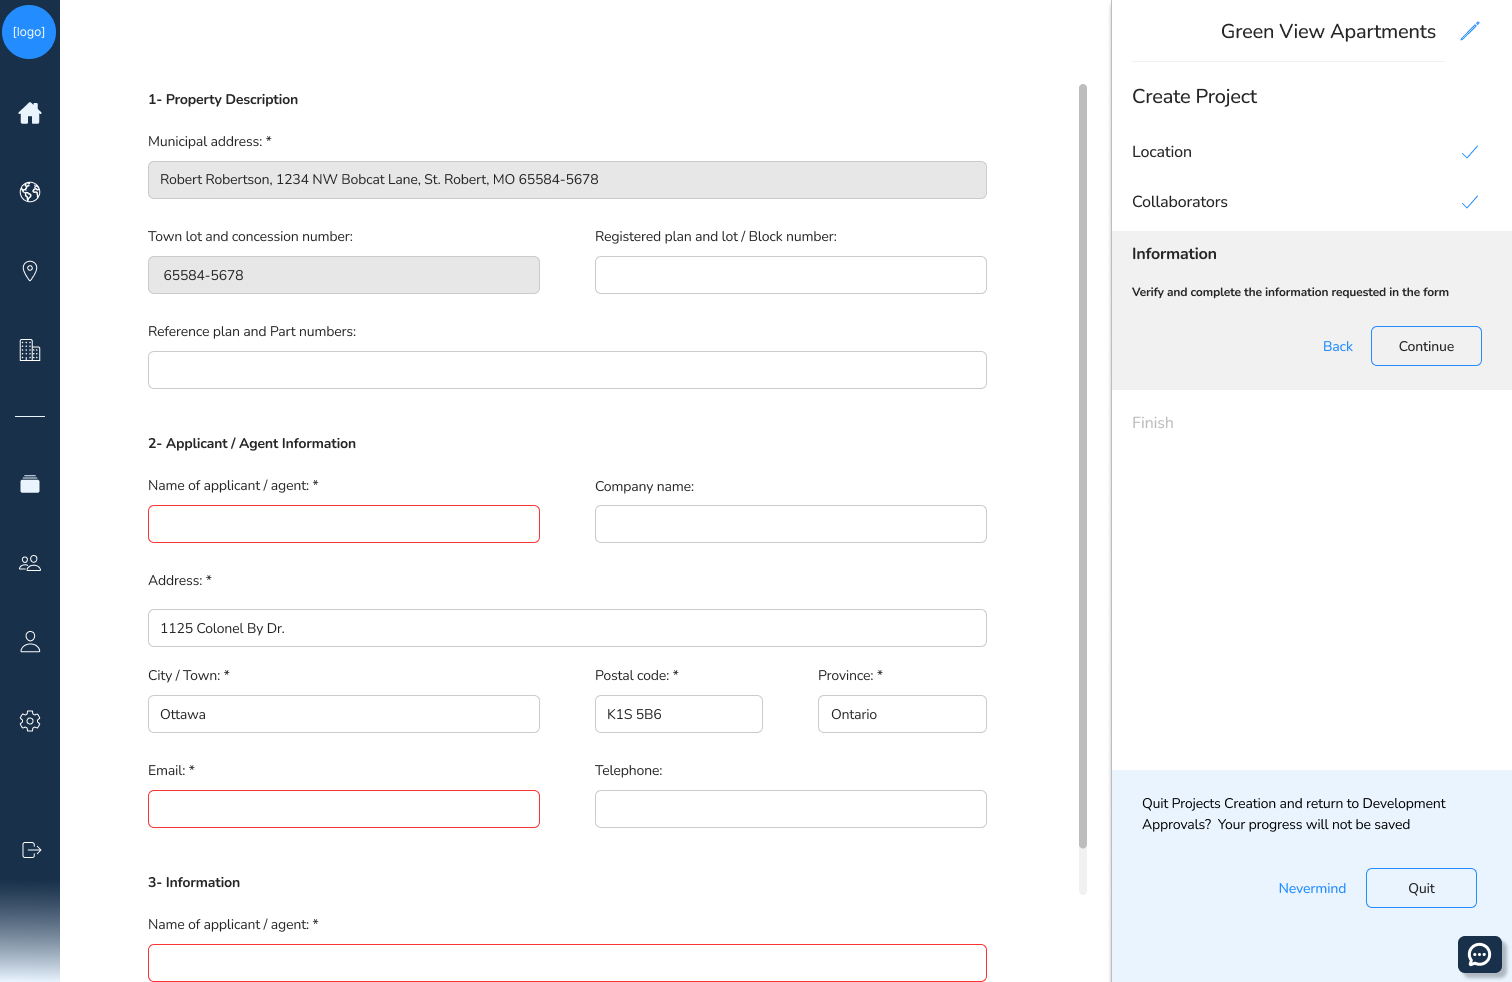
Once the user has filled in all the information, the final step is to click create! Alternatively, to abandon the changes, the user can choose to quit project creation, and after confirming the warning will be brought back to the Projects page.
Once the user is brought back to the Projects page, they're shown where to find the new project, as well as given a list of next steps to begin building up the project with other site features.
